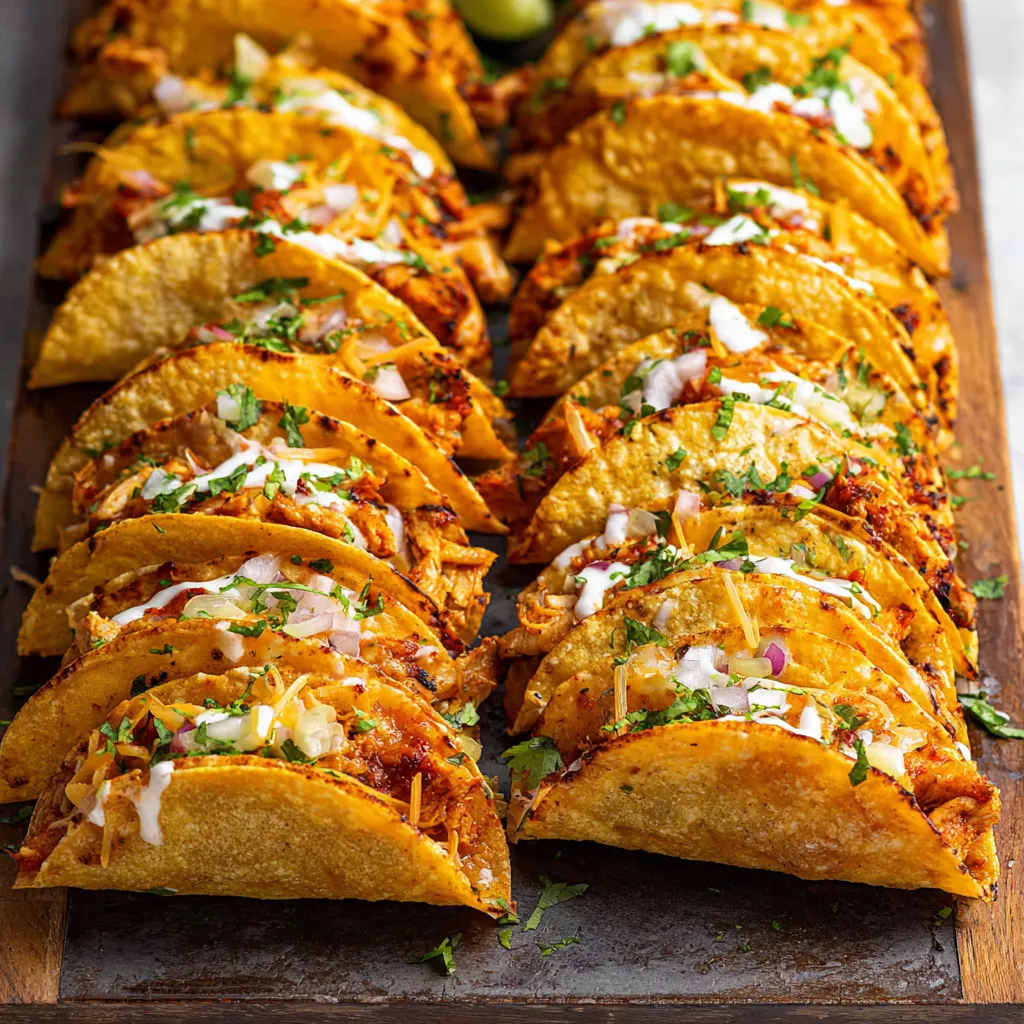
How do you achieve perfectly crispy, evenly-filled mini chicken tacos that are both a crowd-pleaser and surprisingly easy to make?
The Crispy Chemistry: Unlocking the Taco’s Secrets
At its core, the perfect mini baked chicken taco relies on a few key scientific principles: moisture control, heat distribution, and structural integrity. Moisture is the enemy of crispiness. Too much moisture in the filling will lead to soggy tortillas, no matter how long you bake them. Therefore, actively managing and minimizing the moisture content of the chicken and other fillings is paramount. Heat distribution ensures even cooking and crisping. Baking, rather than frying, offers more consistent heat, but we can optimize this further. Finally, structural integrity is about preventing the taco from collapsing during baking, leading to uneven cooking and potential spillage. This requires careful construction and a little bit of culinary engineering.
The Recipe: Mini Baked Chicken Tacos

Ingredients:
- 1 lb boneless, skinless chicken breasts
- 1 tbsp olive oil
- 1 packet taco seasoning (or homemade blend)
- 1/2 cup chicken broth
- 1/2 cup shredded cheddar cheese
- 1/4 cup salsa
- 1/4 cup sour cream (optional)
- 1/4 cup chopped cilantro (optional)
- 24 mini corn tortillas (approx. 3-inch diameter)
Instructions:
- Prepare the Chicken: Preheat oven to 375°F (190°C). Dice the chicken breasts into small, bite-sized pieces.
- Cook the Chicken: Heat olive oil in a large skillet over medium heat. Add the diced chicken and cook until browned and cooked through, about 5-7 minutes.
- Season and Simmer: Stir in the taco seasoning and chicken broth. Bring to a simmer and cook for 5-7 minutes, or until the liquid has mostly evaporated. This step is crucial for removing excess moisture.
- Assemble the Tacos: Lightly grease a baking sheet. Warm the tortillas slightly (either in a dry skillet for a few seconds per side or in the microwave wrapped in a damp paper towel for 15-20 seconds) to make them pliable and prevent cracking.
- Fill the Tacos: Spoon a small amount of the chicken mixture into the center of each tortilla. Be careful not to overfill.
- Fold and Arrange: Fold the tortilla in half to form a taco shape. Place the tacos seam-side down on the prepared baking sheet.
- Bake: Bake for 10-12 minutes, or until the tortillas are crispy and golden brown.
- Add Cheese: Remove the tacos from the oven and sprinkle shredded cheddar cheese over the top. Return to the oven for another 2-3 minutes, or until the cheese is melted and bubbly.
- Garnish and Serve: Let the tacos cool slightly before serving. Top with salsa, sour cream, and chopped cilantro, if desired. Enjoy!
My Taco Odyssey: A Culinary Investigation
The Soggy Saga Begins
My first few attempts were a disaster, I’m not going to lie. Like many of you, I initially thought that simply throwing some cooked chicken and cheese into a tortilla and baking it would yield perfectly crispy mini tacos. WRONG. My initial batches were consistently soggy and unappetizing. The tortillas lacked crispness, and the filling was often bland and watery. It was clear I needed to approach this systematically.
Moisture Management: The Key to Crispy Success
The biggest culprit, as I suspected, was moisture. The chicken released its juices during baking, soaking the tortillas from the inside out. Then, I had an “Aha!” moment! I remembered a trick I use when making Crockpot Taco Pasta – simmering the meat with taco seasoning until most of the liquid evaporates. Applying this to the mini tacos was a game changer. By simmering the chicken mixture with chicken broth and taco seasoning, I reduced the moisture content significantly before even assembling the tacos. This resulted in a much drier, more flavorful filling.
Tortilla Taming: The Warmth Factor
Another issue I encountered was cracking tortillas. Cold, brittle tortillas are practically impossible to fold without them breaking. The solution was simple: warming them slightly before assembly. I experimented with different methods – microwaving them briefly wrapped in a damp paper towel and quickly heating them in a dry skillet. Both worked well, but the skillet method gave them a slightly toasted flavor that I preferred. This subtle warming made the tortillas pliable and much less prone to cracking.
Cheese Considerations: The Melt Factor
Finally, I experimented with cheese placement. Initially, I mixed the cheese in with the chicken filling. This resulted in uneven melting and a slightly greasy texture. Placing the cheese on top of the baked tacos during the last few minutes of baking ensured a perfectly melted, bubbly cheese topping without compromising the crispiness of the tortillas. This minor adjustment made a huge difference in both appearance and texture.
The Foolproof Formula: Mastering the Mini Taco
Based on my extensive experimentation, here’s the definitive, foolproof method for achieving perfectly crispy, delicious mini baked chicken tacos every time:
- Dice the Chicken Small: Ensure even cooking and faster moisture evaporation.
- Simmer, Don’t Just Cook: Simmer the chicken with taco seasoning and broth until most of the liquid is gone.
- Warm the Tortillas: Make them pliable and prevent cracking.
- Don’t Overfill: A little goes a long way. Overfilling leads to soggy tacos.
- Seam-Side Down: Bake the tacos seam-side down to prevent them from opening during baking.
- Cheese on Top, Last Minute: Add the cheese during the last few minutes of baking for perfect melting.
")